We are happy to assist you with scanning when we are open. This scanner replaces our previous 56" Colortrac scanner.
Note: We also have a flatbed scanner (11” x 17”), with special modes for handling film and slides, available in the Map & Data Library upon request.
Key features:
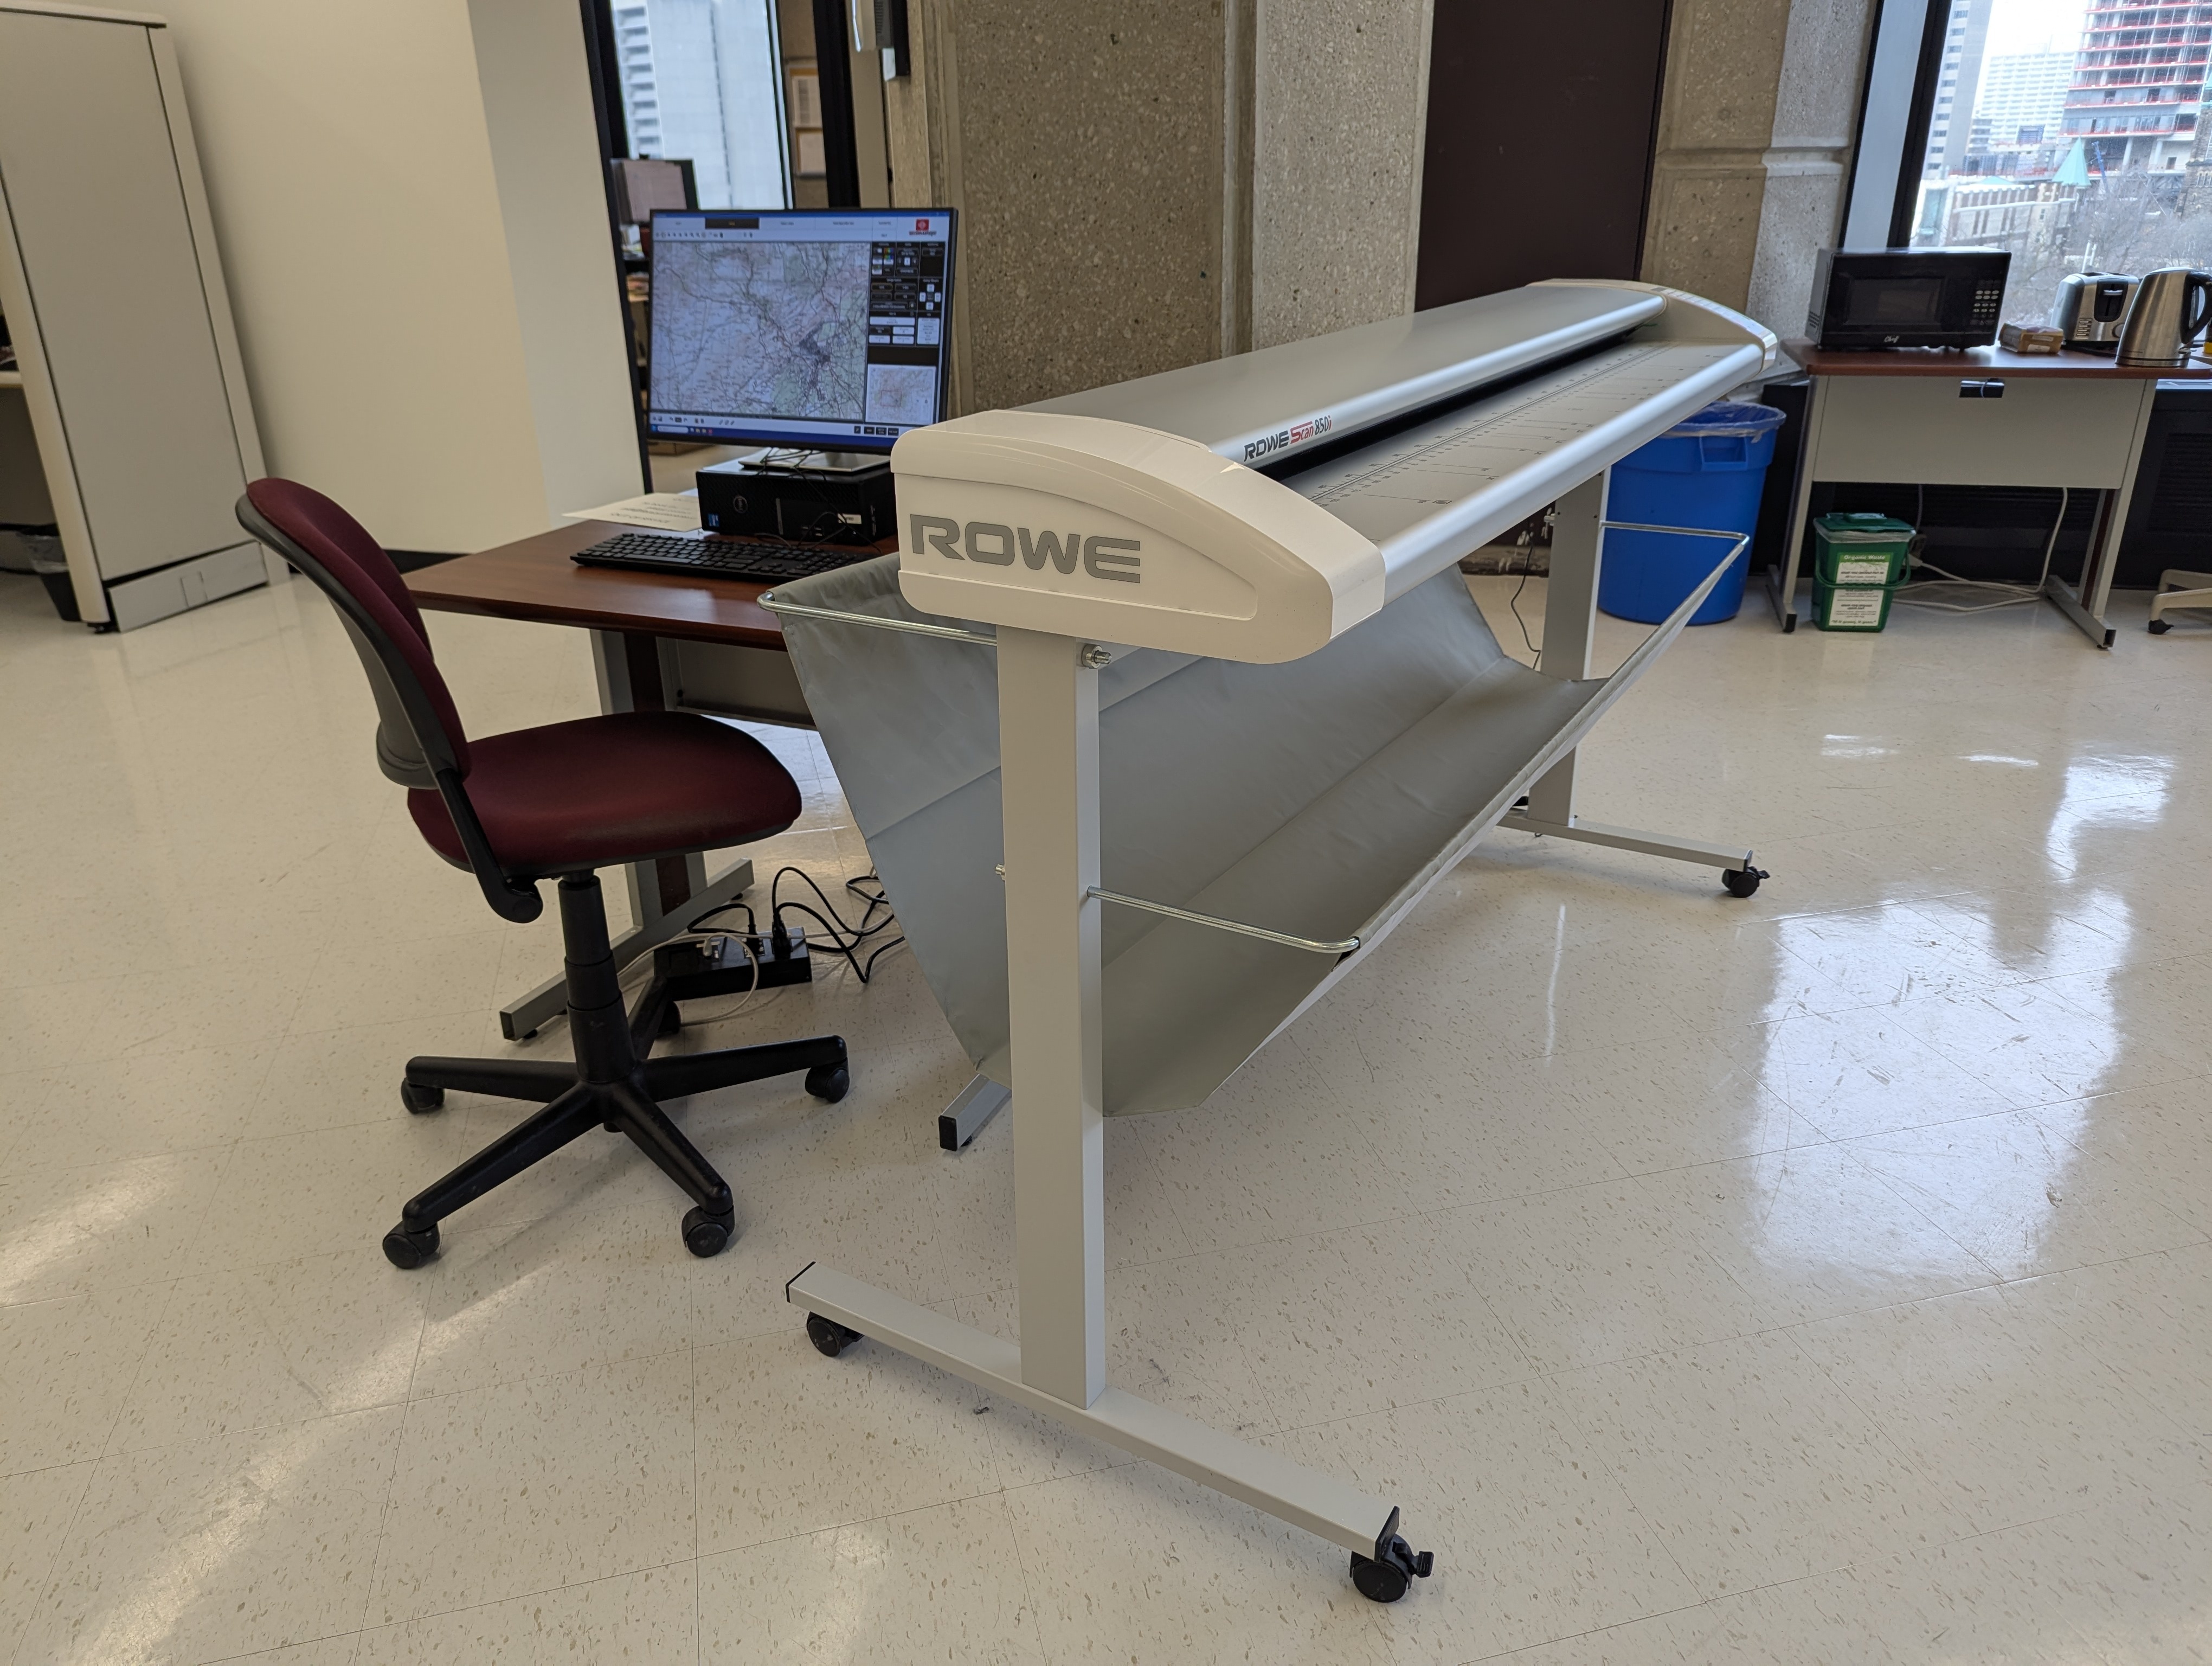
- Model: ROWE Scan 850i
- Scans items up to 60" wide
- Adjustable height up to approximately 3 cm tall
- Scans up to 1200 DPI, or to 2400 DPI with interpolation
- Exports many file types, including TIFF, PDF, JPG, PNG, etc.
- Different settings for line drawings (e.g., blueprints), photographs, and mixed items (e.g., topographic maps)
- Adjustable settings including advanced options
- Batch scanning
- Edit images after scanning, including changing file type, adjusting brightness and saturation, cropping and deskewing
Note that this scanner cannot photocopy or print, but you can copy images to a thumb drive or upload them.
Also note that files are deleted at the end of a session, so we recommend copying files to external storage or the cloud. Sessions end when you log out or when the machine times out due to inactivity.
Do not scan items with staples, glue, or tape on them, as they will damage the scanning surface.
Finally, please note that the item must touch the scanning surface and pass through rollers, so this scanner is not appropriate for fragile items. We cannot take liability for any damage caused by the scanning process.
Getting Started
- If necessary, press CTRL+ALT+DEL to unlock the workstation.
- Click on the “Quick Scanning” profile on the bottom left of the screen. You will not need to use your username or password.
- Once the user account loads, open ScanManager, available on the desktop.
Navigating the Main Window
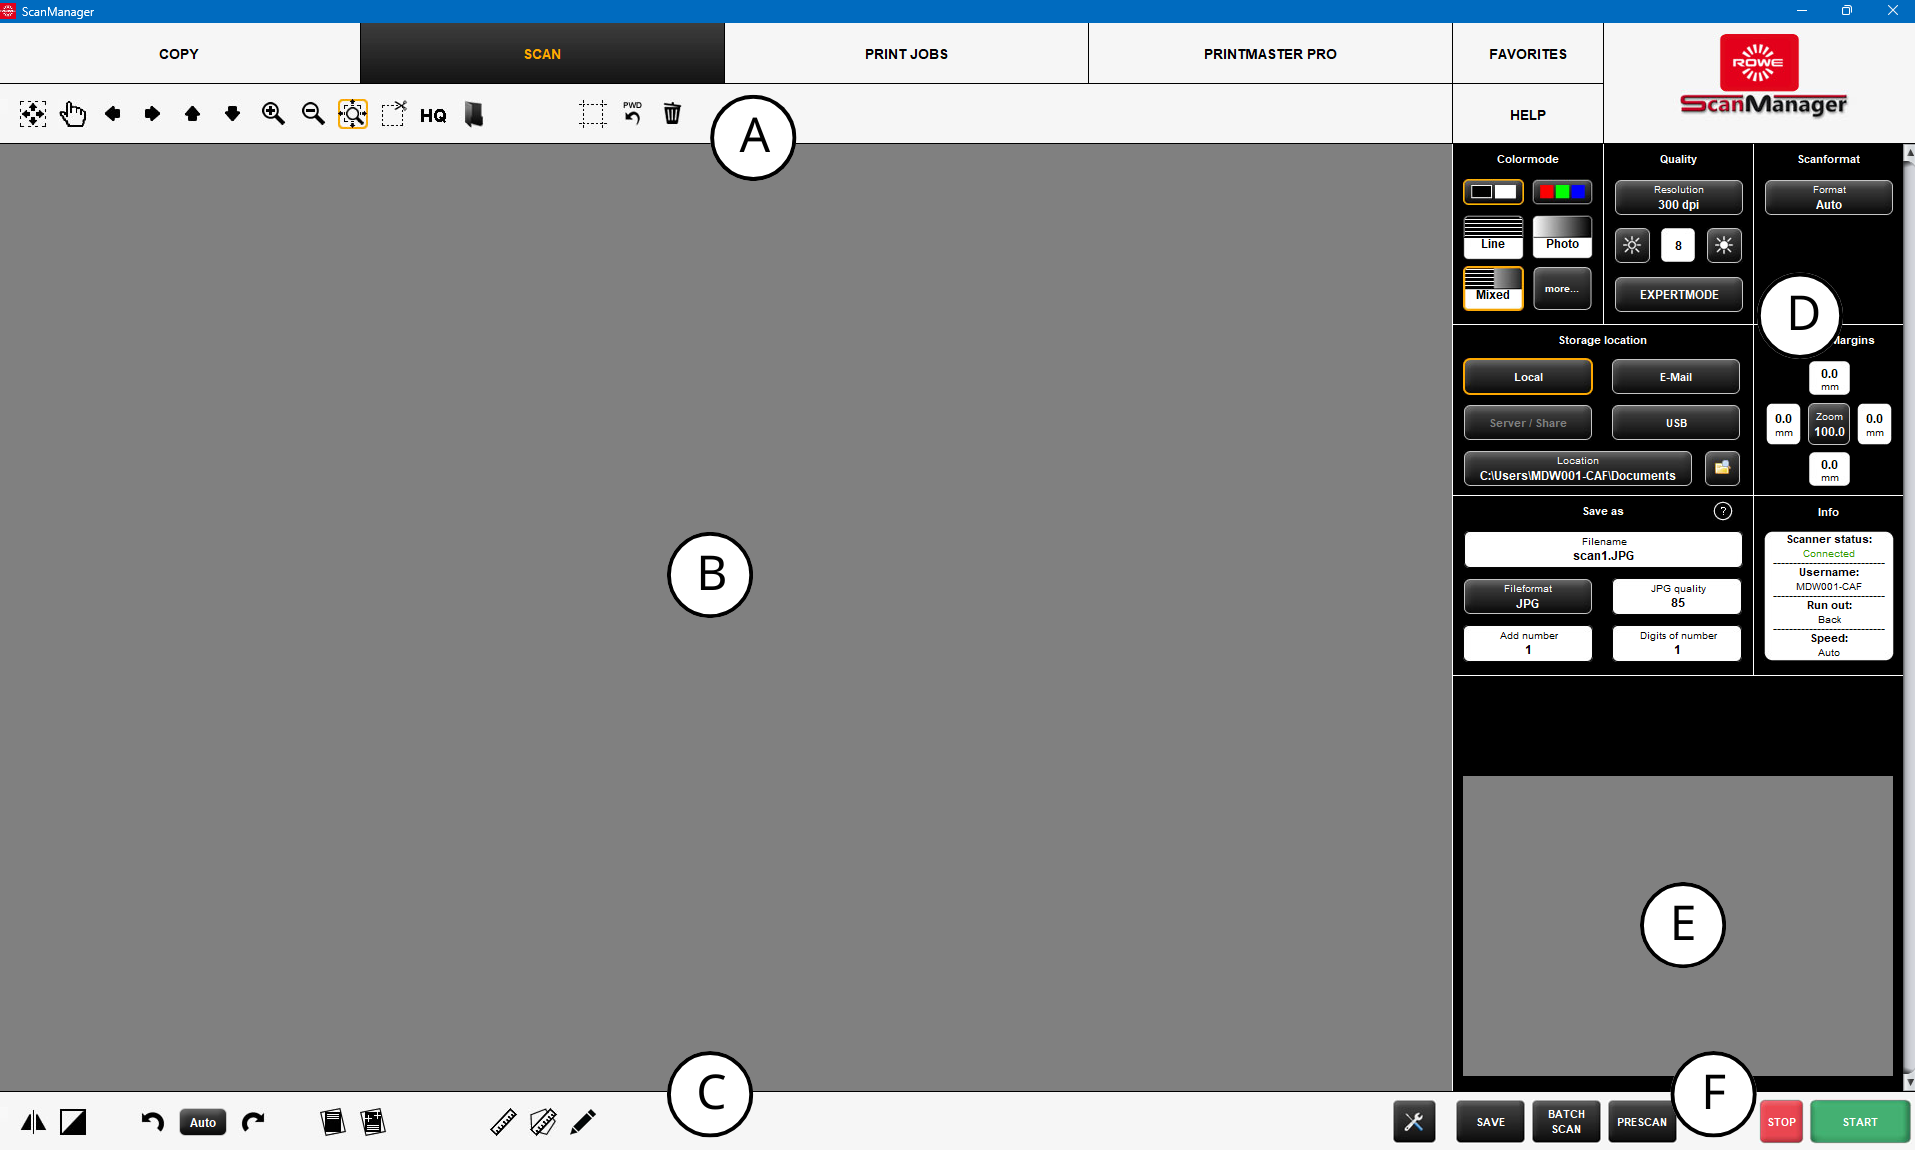
A. Toolbar of main viewer: Provides zooming, panning, cropping, and image display controls for working with the scanned image.
B. Main viewer: Displays the scanned image file or the most recent scan.
C. Toolbar editing and measuring functions: Provides tools for rotating, deskewing, mirroring, and measuring distances or areas on the scanned map.
D. Settings: Where you set the scan options such as color mode, resolution, file format, and storage location.
E. Overview to display complete scan: A small overview window showing the entire scan, helping you navigate large images while zoomed in.
F. Toolbar with action keys: Includes primary action keys such as Start, Stop, and Batch Scan.
Default Settings

- Color mode: The following scan will be scanned in the color mode set here. There is a selection of Black & White and Color (RGB). By default, the color mode is set to Black & White, and the type of original is set to Mixed.
- Quality: Resolution: Changing the dpi (“Dots per inch”) modifies the resolution. By default, the DPI is set to 300 when the color mode is Black & White.
Note: for some DPI levels, there are additional "turbo" speeds. These are faster but use some interpolation, so they are not recommended for archival purposes. - Storage location: Refers to the save location of the scan file. By default, scan files are saved on the local computer at the scanning station.
- File name: Refers to the name of the output file being created. By default, the file name is “scan1”.
- File format: Refers to the type of output file for your scan. By default, the file type is set to JPEG.
- JPG quality: Depending on the selected file format, additional options are available. For JPEG, the JPEG quality is set to 85 by default.
- Open a folder with all saved images.
Changing Settings
-
Color mode: To change the color mode, select either Black & White or Color (RGB). Under both buttons, there is also a selection of type of original:
- Line: For original that exclusively includes line structures and/or homogenous areas.
- Photo: For original that includes complex structures and color gradients.
- Mixed: For original that includes line structures as well as color gradients.
Select your preferred type to change it.
-
Quality:
Click “Resolution” to change your preferred resolution. The higher the DPI, the higher the resolution of the scanned image. Options with “Turbo” indicate accelerated scanning speed.
You can click “EXPERTMODE” to access more advanced image and color settings for adjustments on brightness, sharpness, contrast, color tone, etc.
- Storage location: Click “Location” to select and change your preferred save folder.
- File name: Click to change the file name.
- File format: The program allows you to choose from a number of different file types, including TIFF, PDF, and JPEG. Click to change your preferred file format.
- JPG quality: For JPEG, there is an additional option to change the JPEG quality settings, which range from 0 (maximum compression) to 100 (minimal compression). Click to adjust your preferred settings.
Scanning a Map
- Optionally, insert a thumb drive or external hard drive (USB-A only). If you do, the default drive will change to T: instead.
- Place the desired map face up on the center of the scanner and gently feed it in. The scanner will detect the map being fed.
-
Press the green "Start" button on the control panel of the scanner or in the bottom-left corner of the screen.
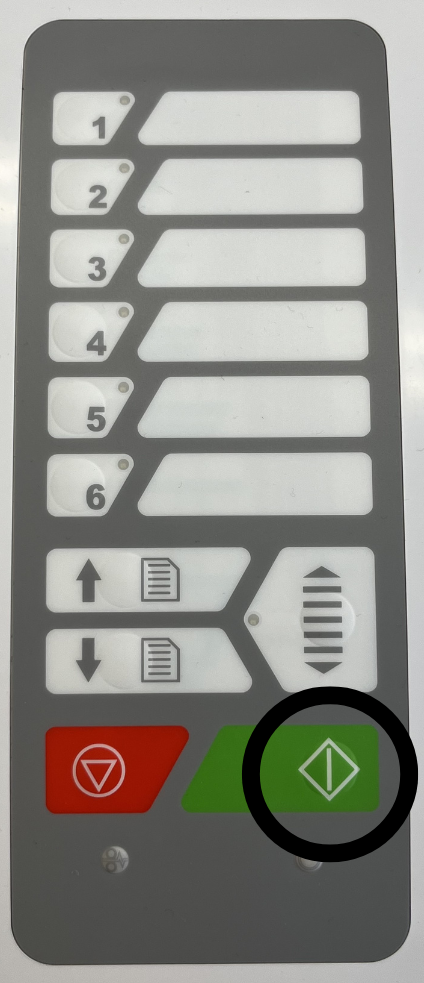
This activates the scanner. When the default settings are applied to the scanner, the main viewer on the screen will show the progress of the scanning.
- Once the scanner finishes scanning the map, the map, by default, will eject from the rear of the scanner and can be found at the bottom of the scanner for retrieval.
- After scanning, the scanned image will be displayed in the main viewer and saved automatically.

You can perform additional edits on the image using the toolbar. - Once the first scan finishes, the scanner is immediately ready again. You can insert the next map, and it will scan automatically using the same settings by pressing the “Start” button again.
Please note: Scanned files are not stored permanently on the local computer and will be automatically deleted. Make sure to copy all scanned files to external storage or upload them to cloud storage as soon as scanning is complete.
Editing the Image
You can edit some aspects of the image after scanning.
You can:
- Change a colour scan to black and white.
- Switch between “line”, “photo”, and “mixed” images.
- Use automatic or manual deskewing.
- Rotate the image.
- Clip the image.
You cannot:
- Change a black and white scan to a colour scan.
- Change the DPI.
- Change the file type.
If you edit your image after scanning, be sure to save it again.